You are watching a video, playing a game, or joining a video call and suddenly, there is complete silence. No sound at all. You check the volume, you check the cables, you restart your PC and still nothing. This is one of the most common and most frustrating Windows problems, and the root cause is almost always the audio driver.
I went through this exact nightmare recently, and the fastest fix I found was using a driver updater, Driver Booster 13 by IObit. In this article, I will show you the exact steps I used to diagnose and fix my no-sound problem quickly and easily no technical expertise needed.
Why Is There No Sound on My Windows PC?
Before jumping into the fix, it helps to understand why audio suddenly disappears on Windows. The most frequent causes include:
- A Windows Update that replaced or corrupted your audio driver
- A recently installed program that conflicted with audio services
- The Realtek or NVIDIA HD Audio driver becoming outdated or broken
- Invalid device data entries confusing Windows audio subsystem
- A failed driver installation leaving the audio device in an error state
In all these cases, the fix involves either updating the audio driver, reinstalling it, or fixing the audio service which Driver Booster 13 can handle automatically.
Meet Driver Booster 13: Your Audio Fix Tool
Driver Booster 13 is a leading driver update and fix utility from IObit that supports over 12 million device drivers. It is designed for everyday Windows users who want to keep their system running smoothly without spending hours digging through Device Manager or manufacturer websites.
For audio problems specifically, Driver Booster 13 offers two powerful approaches: updating the outdated audio driver automatically, and using the dedicated Fix No Sound tool that targets audio service issues directly.
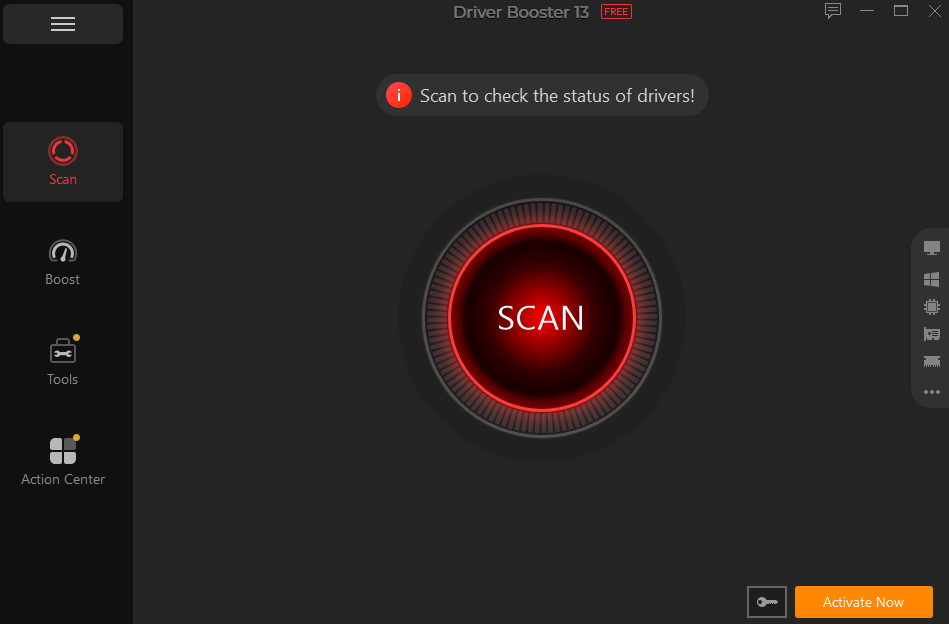
Opening Driver Booster 13 greets you with the familiar SCAN button. This is always the first step let the software analyze what is actually wrong before trying anything else.
Step by Step Guide: How I Fix My Audio with Driver Booster
Step 1: Run a Full System Scan
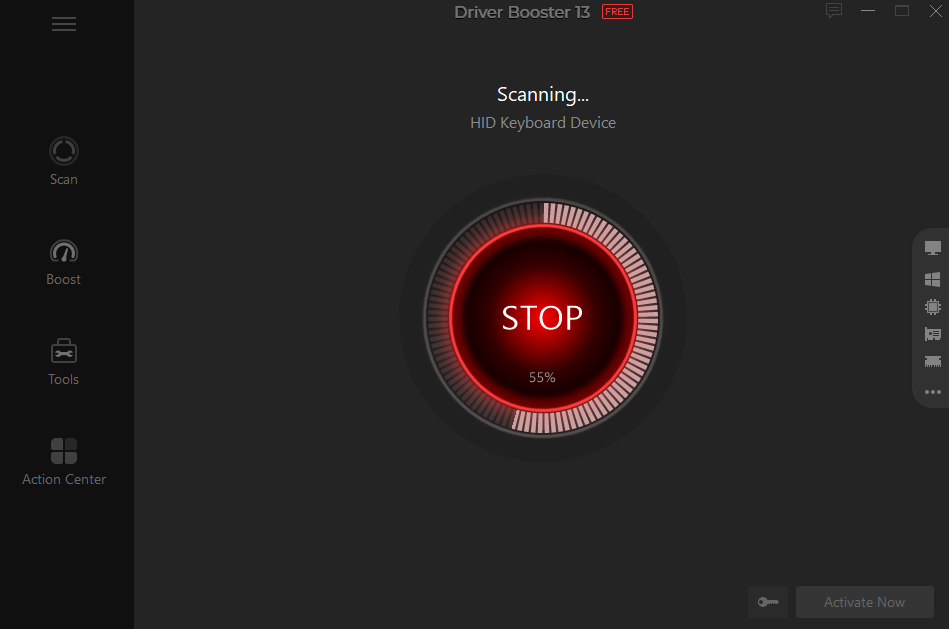
Click the SCAN button on the main screen. Driver Booster 13 will scan every hardware component and driver on your system, including all audio devices. The scan is fast, typically completing within 60 to 90 seconds.
While scanning, you can watch Driver Booster 13 work through each device category. It scans sound, video and game controllers, display adapters, system devices, and more. The progress indicator keeps you informed, and you can stop the scan at any time if needed.
Step 2: Identify Your Outdated Audio Drivers
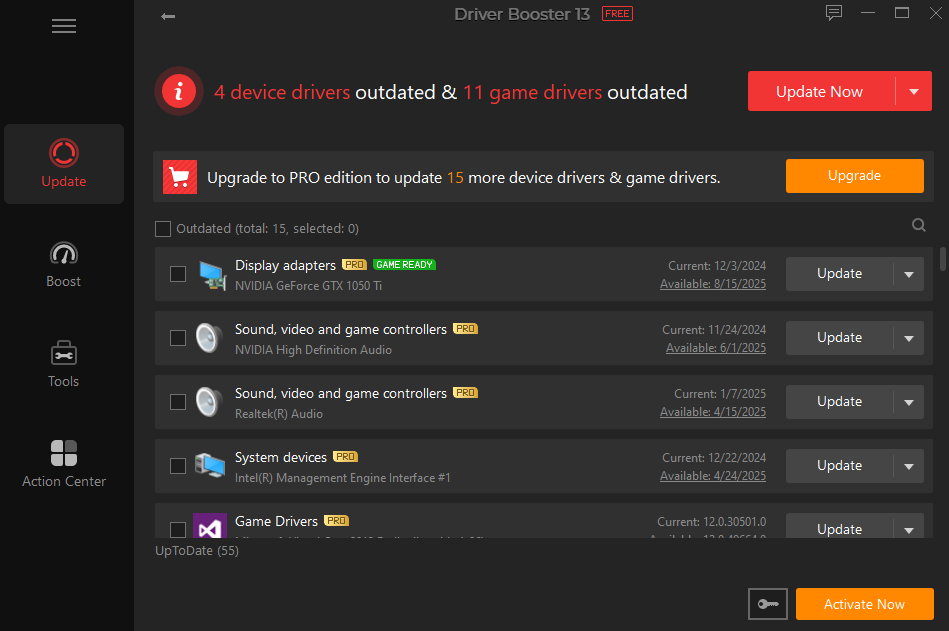
Once the scan finishes, Driver Booster 13 presents the full list of outdated drivers on your system. Look specifically for entries under Sound, video and game controllers — this is where your audio drivers live.
In my scan, Driver Booster 13 immediately found two critical audio driver issues. NVIDIA High Definition Audio was running a version from November 2024, while a version from June 2025 was available. Realtek(R) Audio was also outdated, running a January 2025 version versus an April 2025 update. Both of these can cause complete audio failure or choppy, distorted sound.
These entries clearly explain why I had no audio my system was running old, potentially broken audio drivers that a recent Windows update had made incompatible.
Step 3: Update Audio Drivers Automatically
With the problematic drivers identified, click Update Now to let Driver Booster 13 download and install the latest verified versions automatically. The entire update process is hands-free.
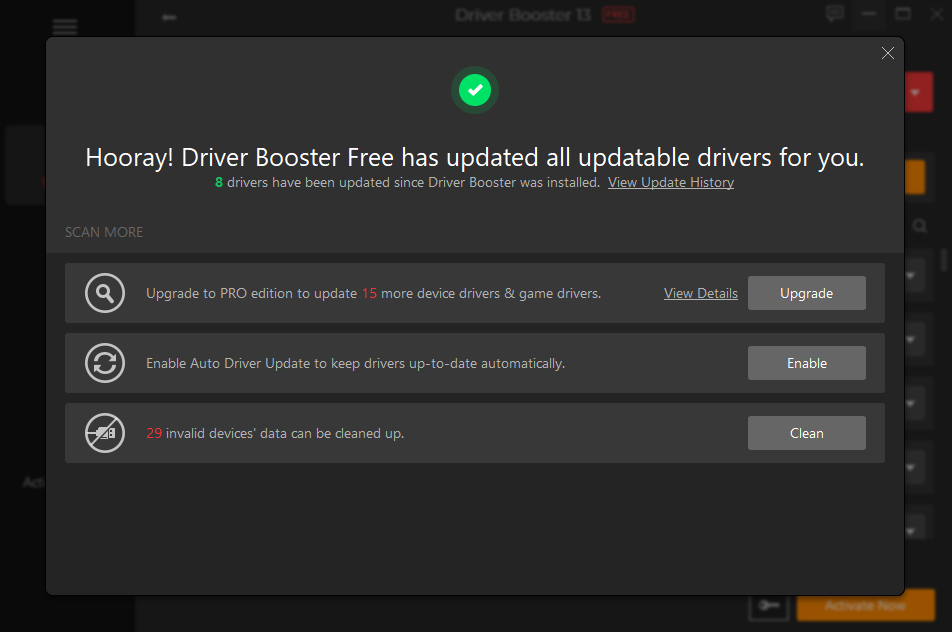
After the update, Driver Booster 13 confirmed that all updatable drivers had been successfully installed. The software updated 8 drivers in total, including both audio-related entries. Most audio problems are resolved at this stage. But Driver Booster 13 goes even further with additional tools to make sure nothing is left behind.
Step 4: Use the Fix No Sound Tool
This is the feature that truly sets Driver Booster 13 apart from every other driver updater. Even after updating drivers, audio can sometimes remain broken due to corrupted audio services running in the background. The Fix No Sound tool handles exactly this scenario.
Navigate to Tools in the left sidebar and click Fix No Sound. The tool presents a simple, clear interface: if you cannot hear any sound, click the Fix button. Driver Booster 13 will automatically diagnose and repair the Windows audio services, reset audio endpoints, and restore proper audio functionality. There is even a helpful link to more solutions for different kinds of sound problems if the basic fix does not resolve your specific issue.
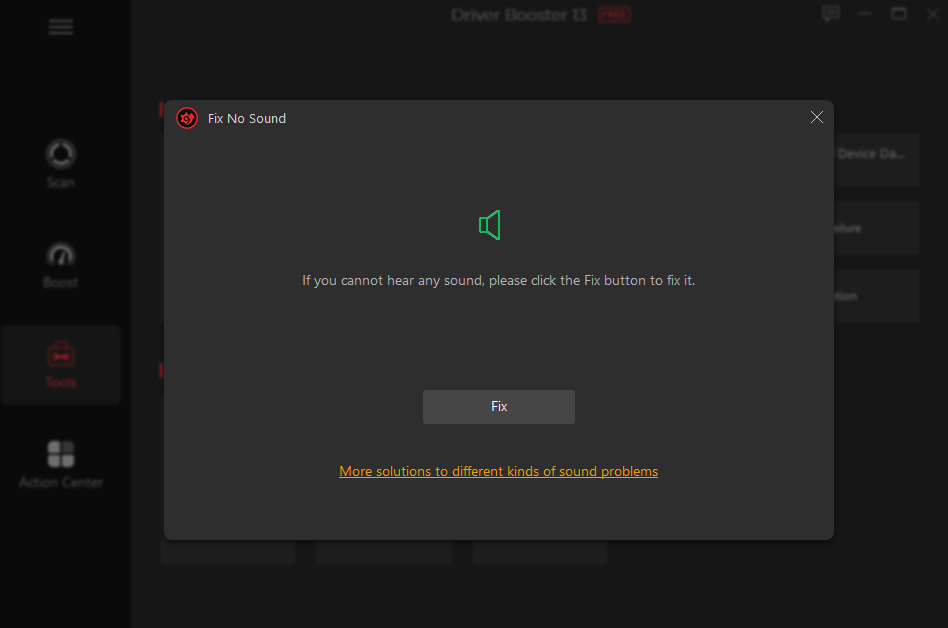
In my experience, this one-click fix resolved a persistent audio glitch that persisted even after the driver update. The combination of driver updates plus the Fix No Sound tool is the most comprehensive audio repair approach available.
Step 5: Clean Up Invalid Device Data
Audio problems can also linger due to ghost entries and invalid device data in Windows. Old, disconnected audio devices or failed driver installations leave behind registry entries that confuse the audio system.
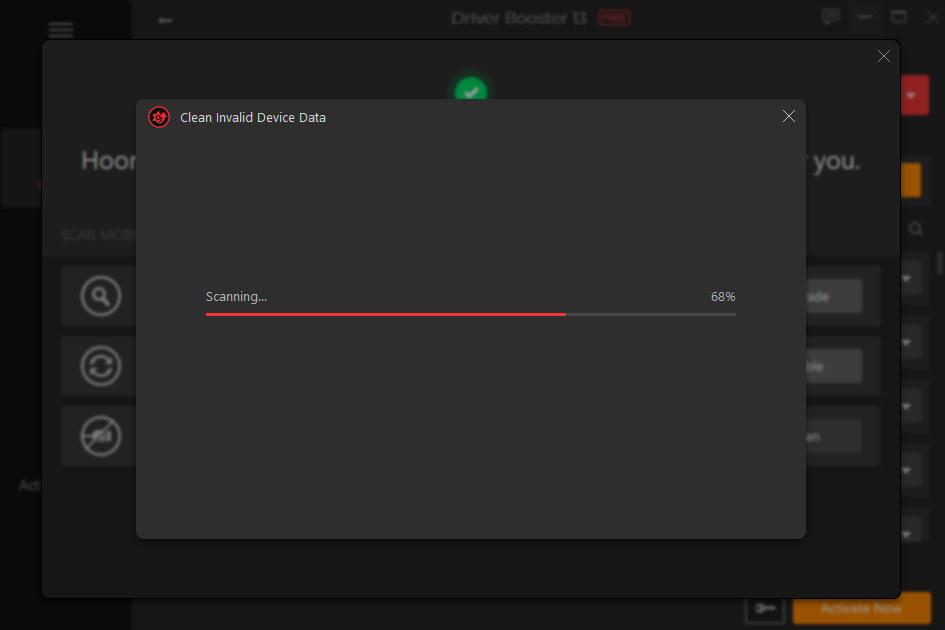
After fixing the sound, I also ran the Clean Invalid Device Data tool from the Tools section. It found 29 invalid device entries on my system including HIDClass devices and display-related entries that were cluttering the device registry.
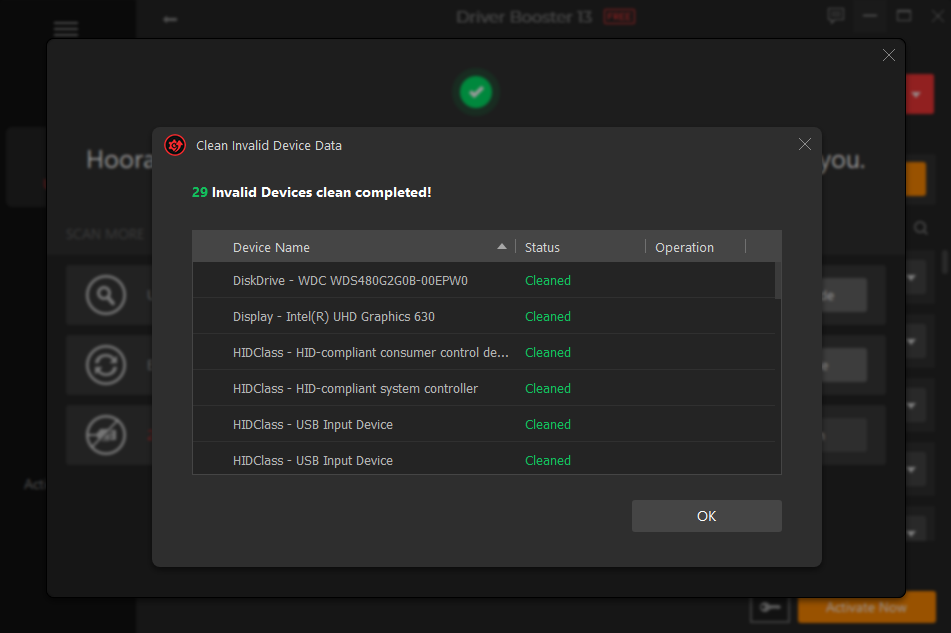
The cleanup completed successfully, removing all 29 invalid entries. Devices like HIDClass USB Input Device, HIDClass compliant system controller, and display entries were all cleaned up, giving Windows a fresh, accurate picture of the hardware actually present. This often resolves audio issues that no driver update can fix alone.
System Information: Know Your Audio Hardware
Not sure what audio hardware you actually have? Driver Booster 13 includes a powerful System Information tool that gives you a complete overview of your system.
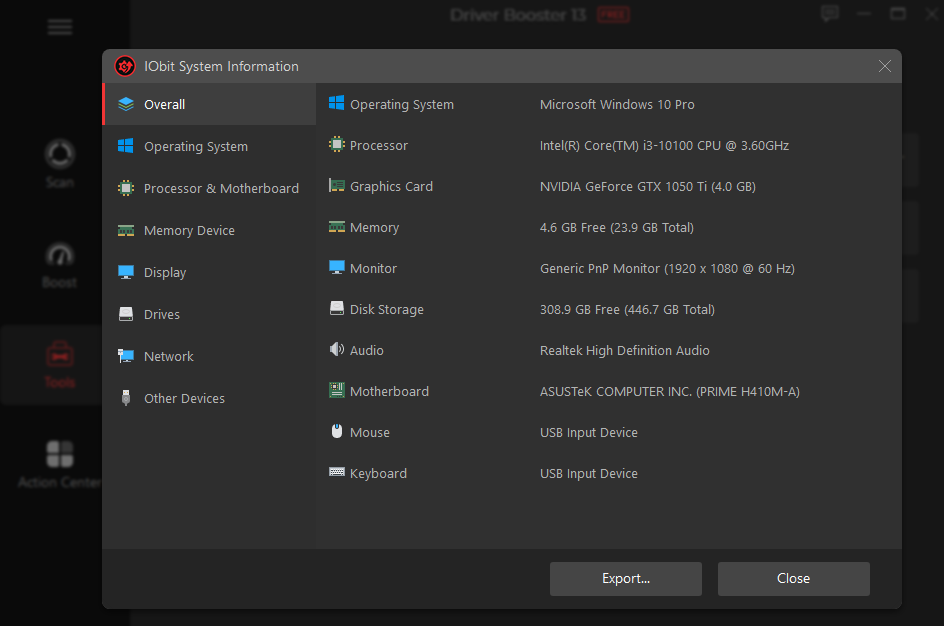
The IObit System Information panel shows everything: Operating System (Windows 10 Pro), Processor (Intel Core i3-10100 at 3.60GHz), Graphics Card (NVIDIA GeForce GTX 1050 Ti), Memory, Monitor, Disk Storage, and crucially Audio: Realtek High Definition Audio. Knowing exactly which audio hardware and chipset your system uses helps you verify that Driver Booster 13 is targeting the right driver for your setup.
Fix Network Failure for Audio Streaming Issues
Sometimes, what appears to be a no-sound problem is actually a network connectivity issue affecting streaming audio from services like Spotify, YouTube, or Netflix. Driver Booster 13 covers this scenario too.
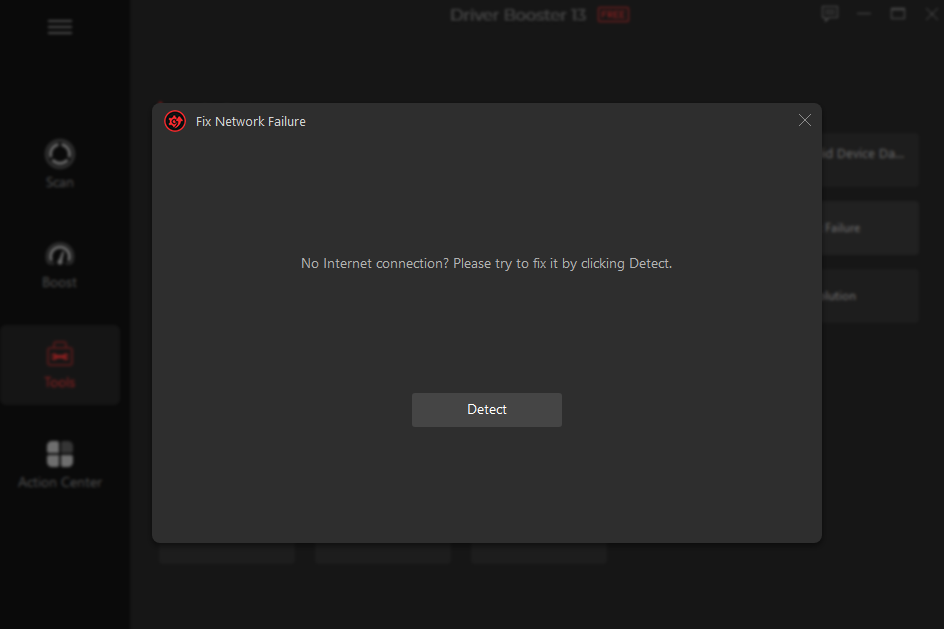
The Fix Network Failure tool detects and repairs missing or corrupted network adapter drivers that can prevent audio from streaming properly. Simply click Detect and Driver Booster 13 will identify the problem and guide you to the fix. For users who primarily listen to online music or watch streaming video, a broken network driver is sometimes the real culprit behind apparent audio silence.
Back Up Before You Update
Before making any driver changes, it is always best practice to create a backup. Driver Booster 13 makes this easy with its Backup and Restore feature.
The Driver Backup tool lists all devices on your system and lets you back them all up at once. This is especially valuable when fixing audio drivers — if an update somehow makes things worse, you can instantly restore the previous driver version with a single click using the Driver Restore tab.
Final Thoughts
A sudden no-sound situation is one of the most disruptive PC problems, but it is also one of the easiest to fix when you have the right tool. Driver Booster 13 does not just update drivers — it provides a complete audio repair toolkit including Fix No Sound, invalid device cleanup, driver backup, and silent operation mode.
Whether your audio stopped working after a Windows Update, a failed driver install, or for no apparent reason at all, Driver Booster 13 will find the cause and fix it. I recovered my audio in under 10 minutes, and the same solution will work for you.